Kirby: Molds & Castings
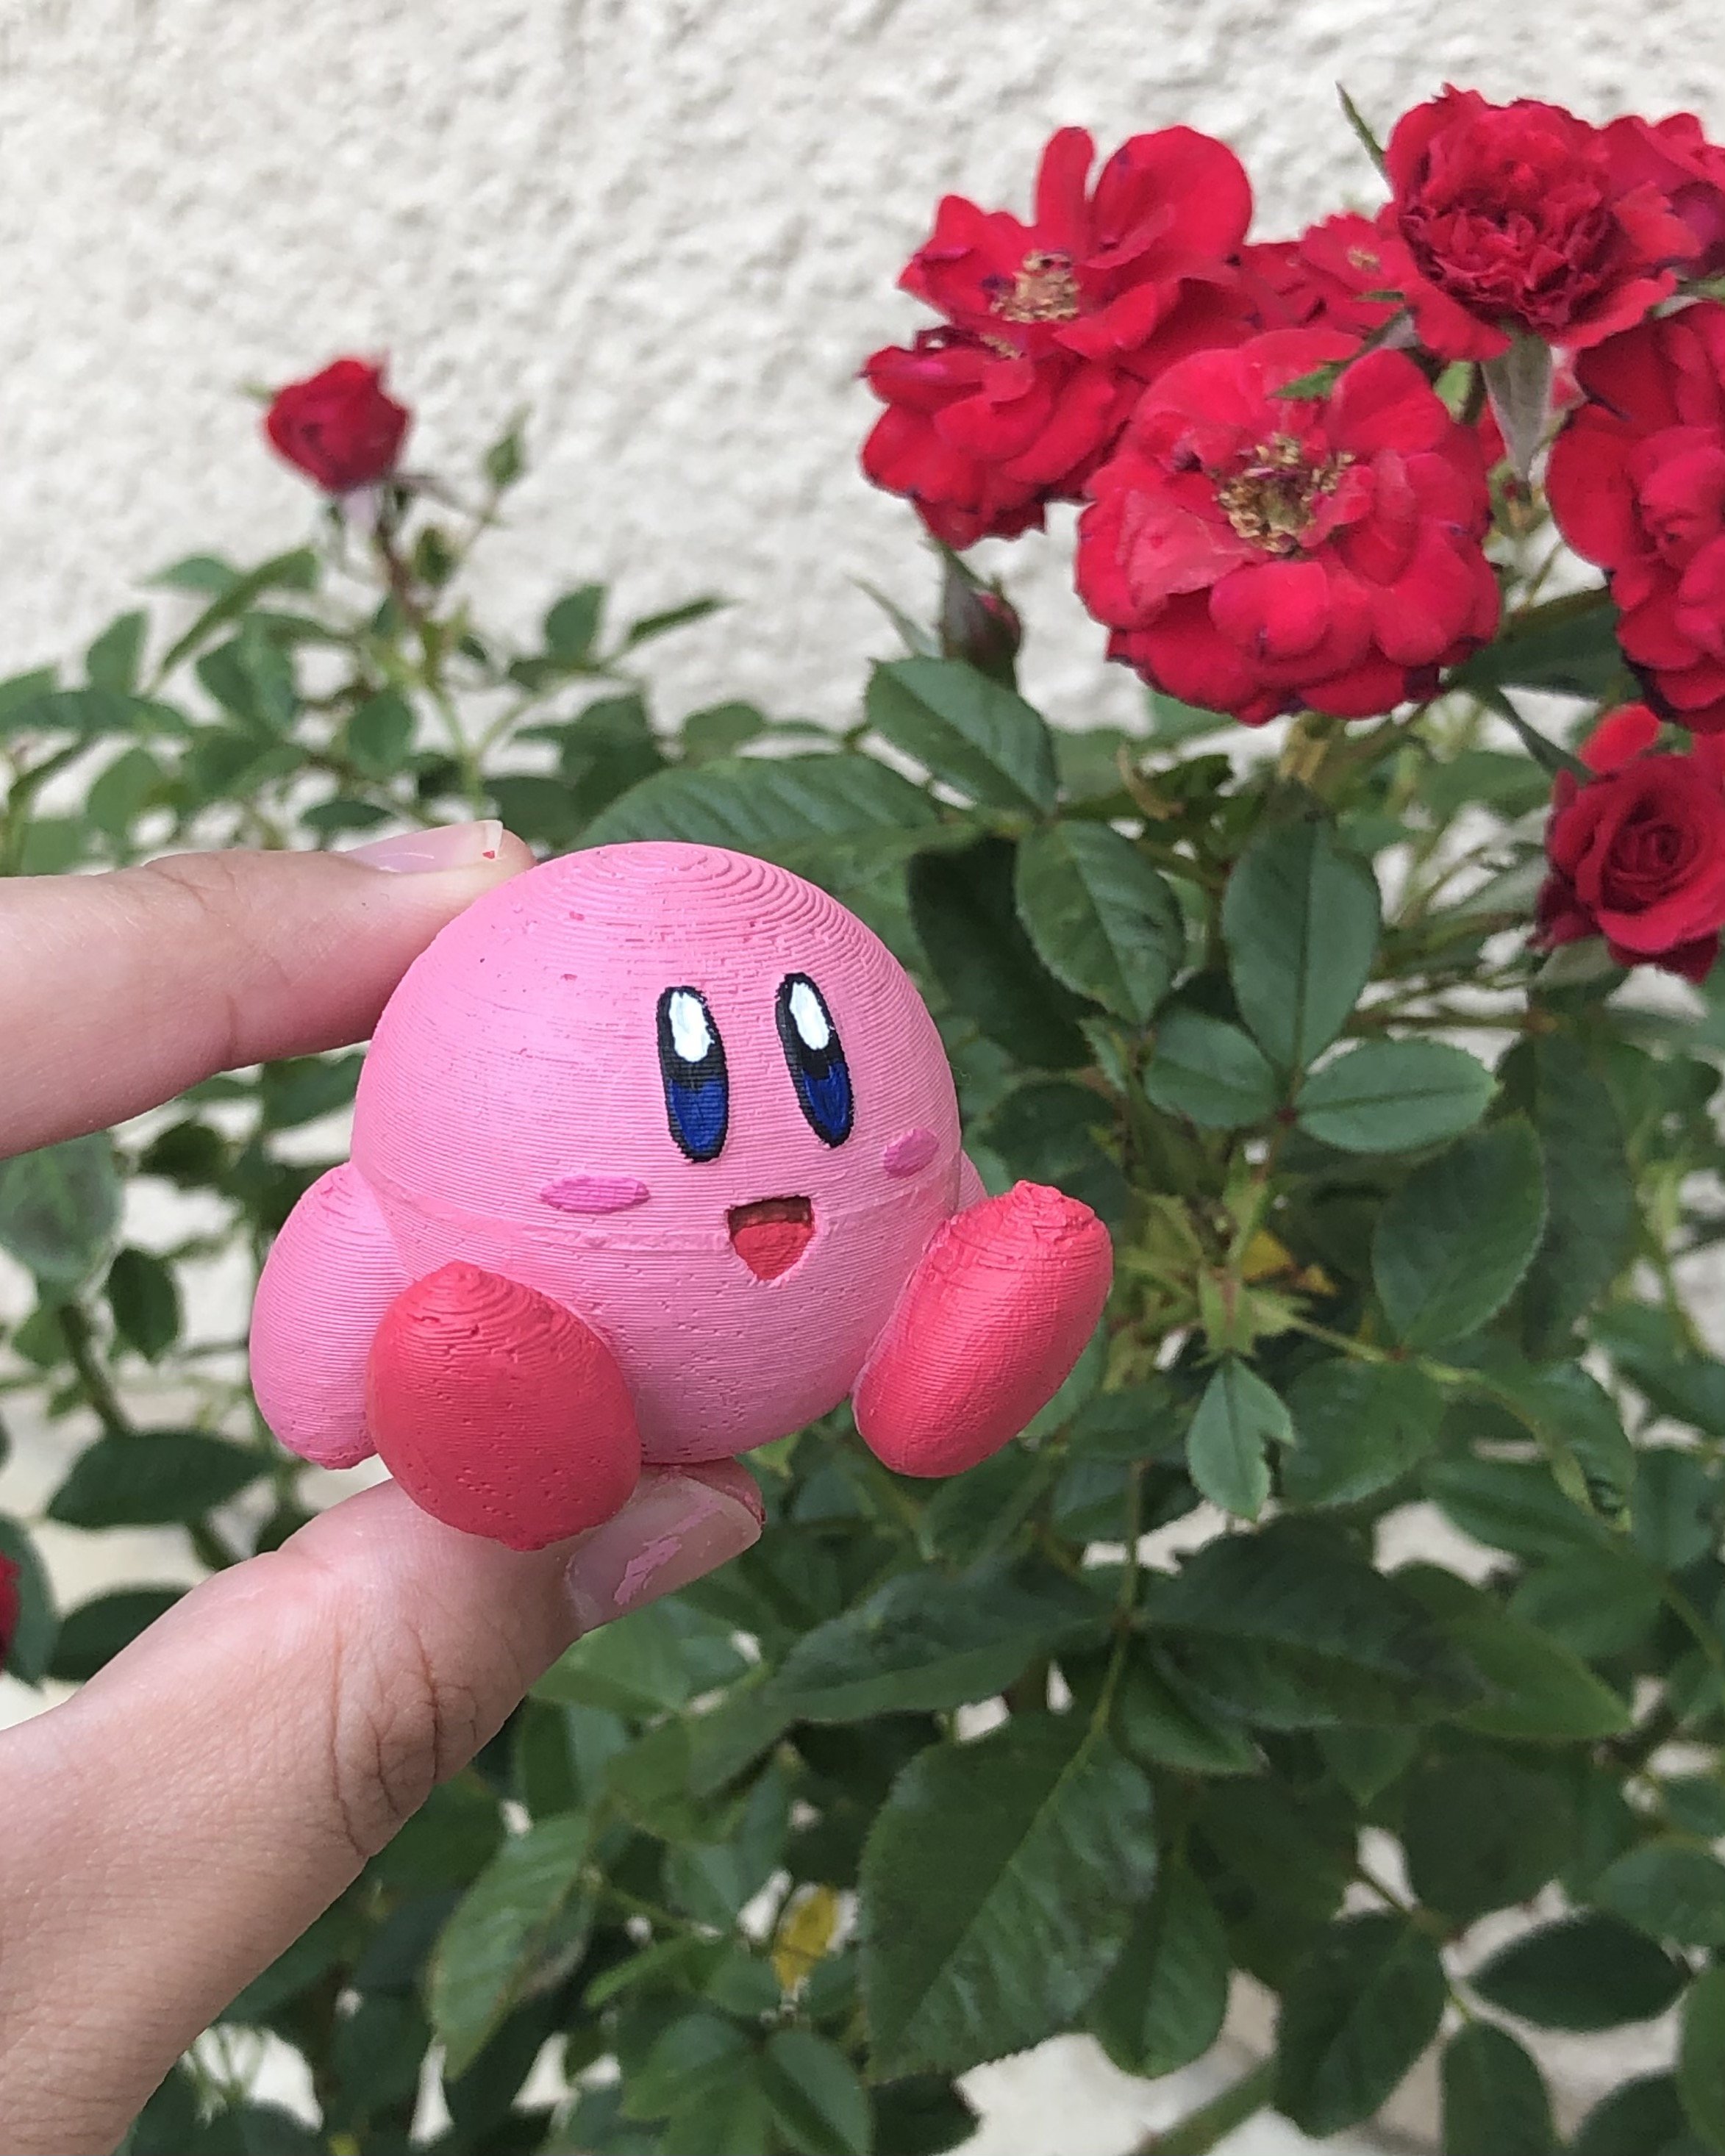
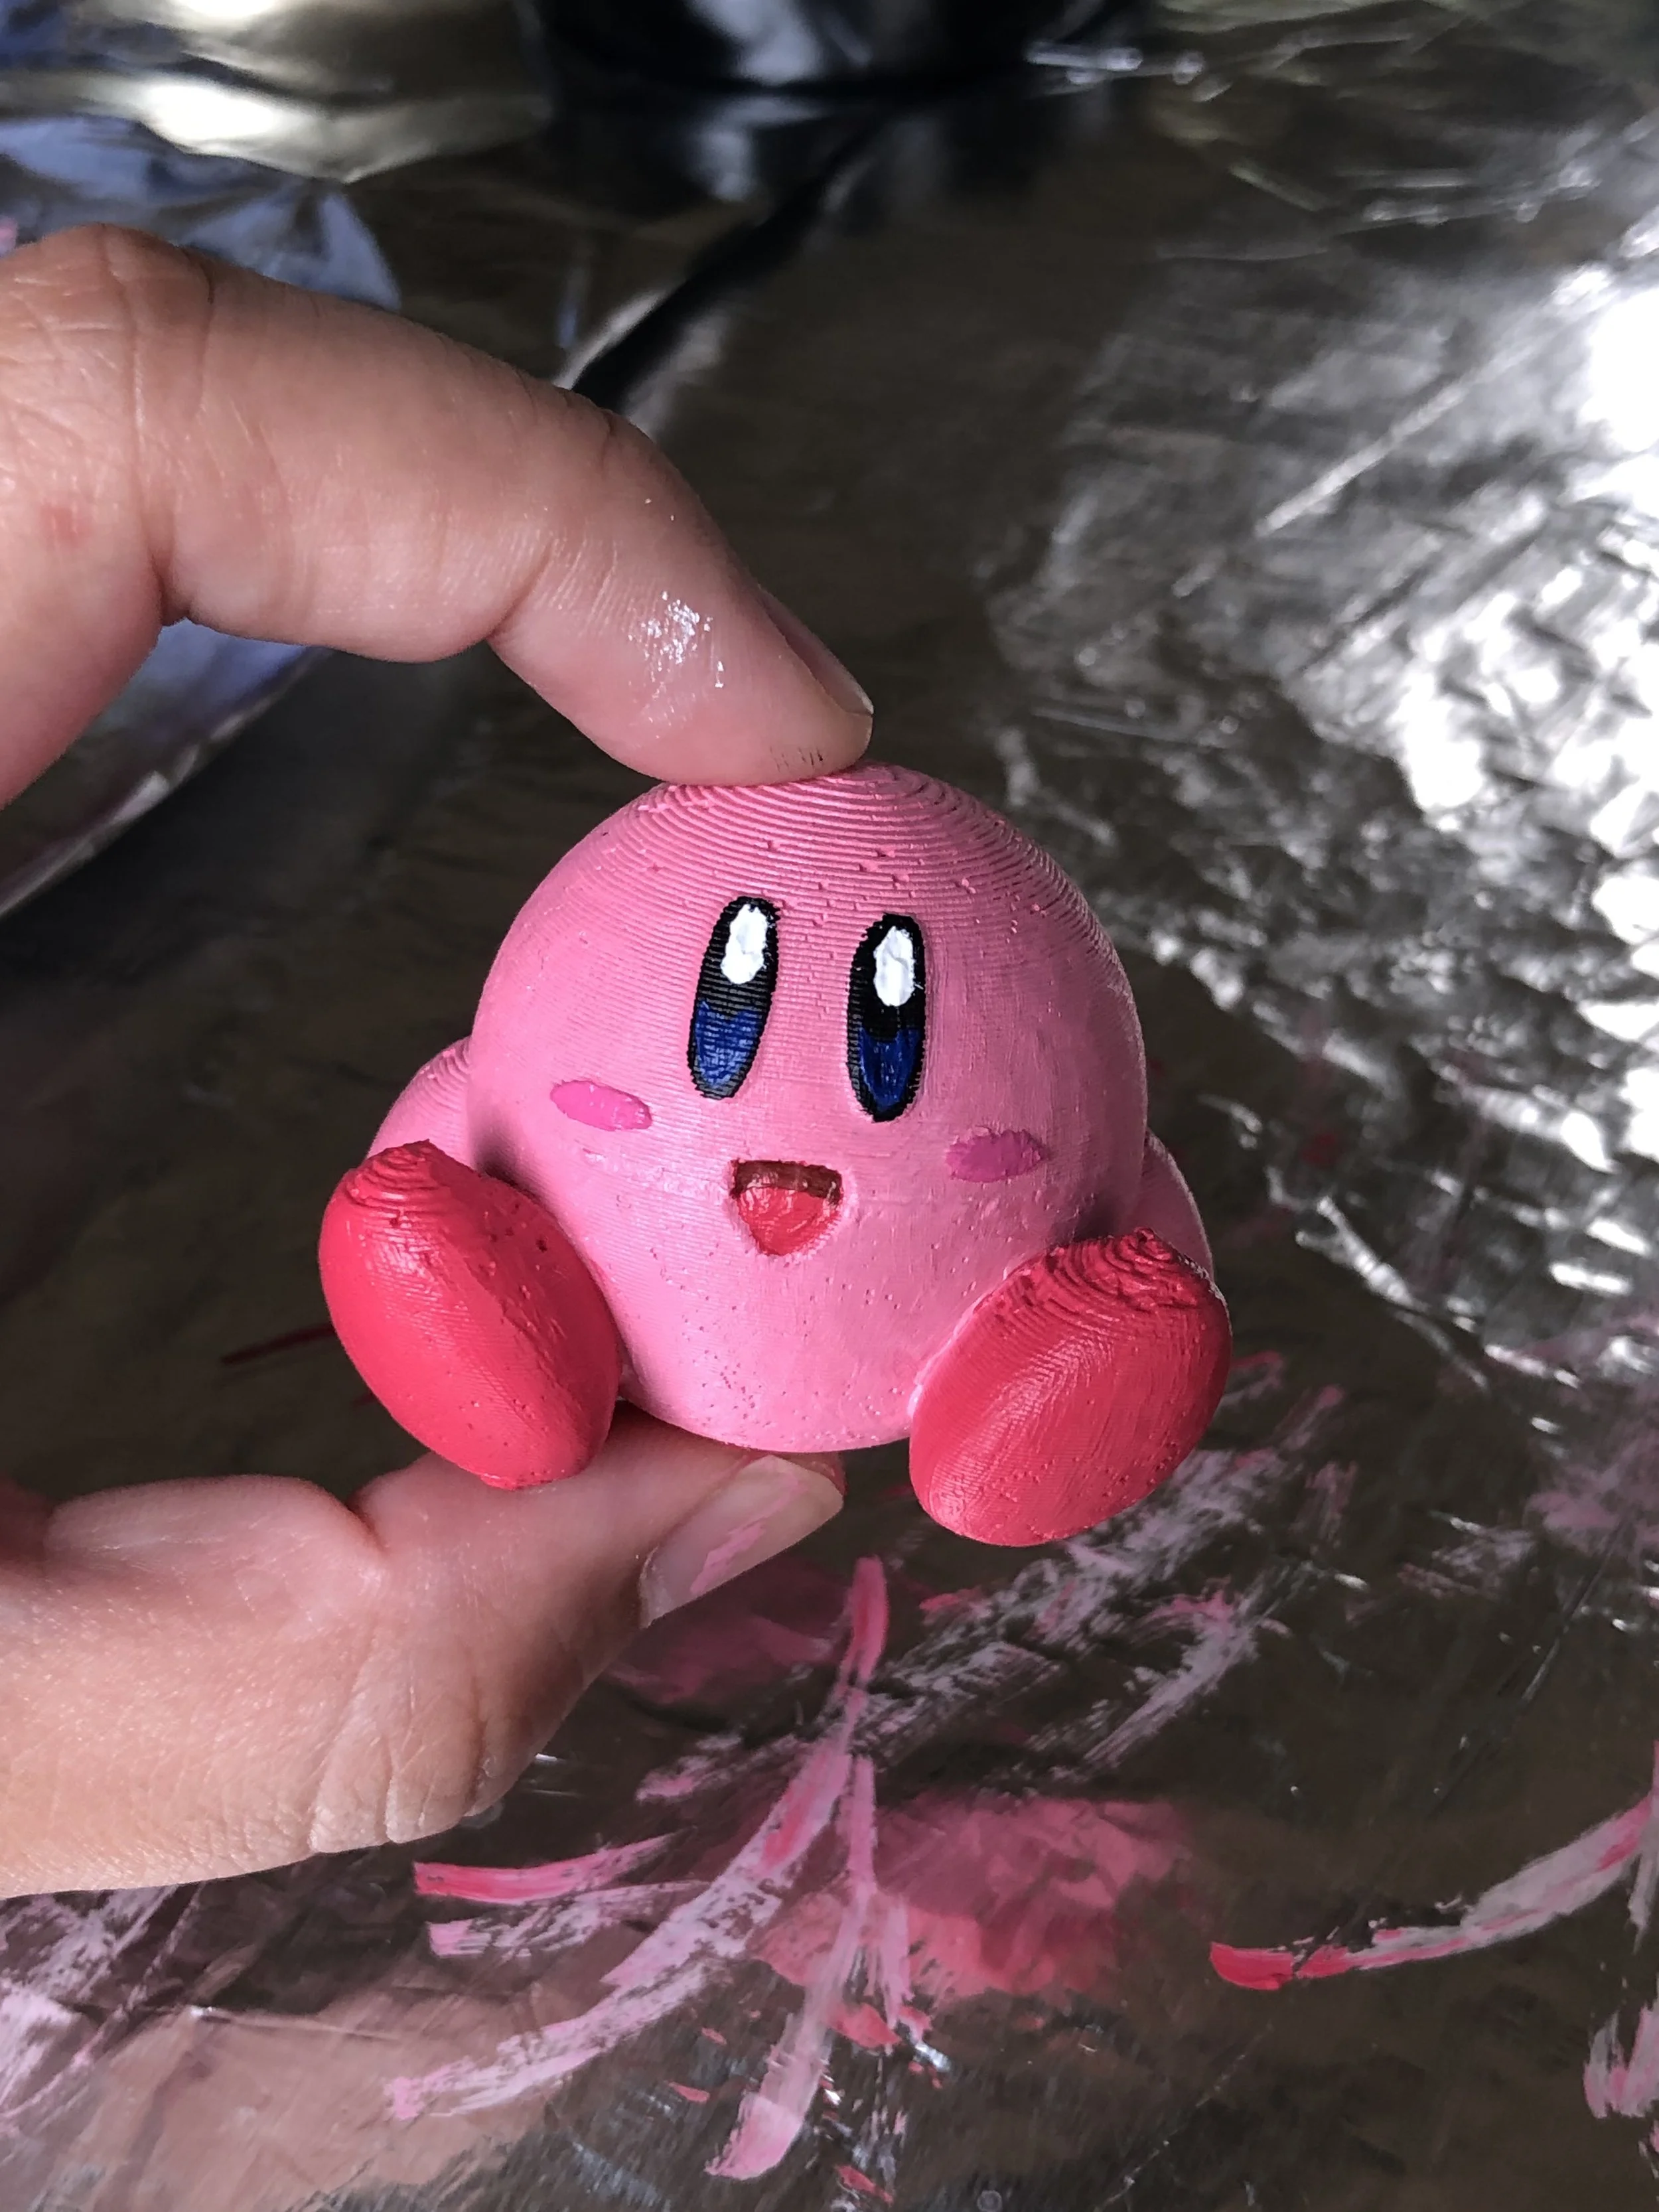
I’ve always loved Kirby so when I was tasked with making silicone molds to cast identical parts for my digital fabrication class, I decided to make Kirby molds and castings.
…
Let’s make a bunch of Kirbys! :D
May 2021
2 Weeks
Solo Project
Designer
Digital Fabrication, 3D Modeling, 3D Printing, Rhinoceros 3D, Silicone Molds, Casting, Painting
Date
Duration
Team
Role
Skills
THE PROCESS —
01. 3D-Printed Molds-for-Molds
02. Silicone Molds
03. Casting
01. 3D-Printed Molds-for-Molds
First, I must create molds to make the silicone molds. These are the 3D-printed molds-for-molds.
Making the 3D-Printed Molds
To model the 3D-printed molds, I needed a 3D model of Kirby that I wanted to reproduce (the original part).
I found STL files of Kirby on Thingiverse. I put Kirby into Rhino, reduced the mesh, scaled it down, and used DraftAngleAnalysis to identify where I should split the mold in half (to create a 2-part silicone mold).
Kirby in Rhino
DraftAngleAnalysis Result
I split the mesh, created polysurfaces using NURBS, and worked on modeling the molds for my silicone molds. I made sure to add keys so that the silicone molds wouldn't shift too much and added pipes to create a funnel for pouring and tunnels for air to escape.
Kirby 3D Molds-for-Molds
Printing the Molds-for-Molds
I sliced the models in Cura and printed them. It was an 11-hour print. The bottom of one of the parts warped so I reprinted it. The second time it printed with no issues.
First print warped. Second print looks great!
3D-Printed Molds-for-Molds
02. Silicone Molds
Making the Silicone Molds
I made the silicone molds with Smooth-On's Oomoo 30. After I poured each mold, I tapped the molds several times to get any air bubbles out. I let the silicone cure overnight (cure for at least 6 hours).
Work Station
Silicone Mix
Poured Silicone Molds
Removing the Silicone Molds
The next day, I worked on removing the silicone molds from the 3D-printed molds. I had trouble separating the silicone mold from the 3D print. While not ideal, I decided to destroy the 3D-printed molds in order to safely remove the silicone molds.
One part of the silicone mold is out!
Broken 3D-Printed Molds-for-Molds
The 2-part silicone mold fits! The keys align and keep the 2 parts from shifting. We can move onto casting!
Silicone Molds
Assembled Silicone Molds
03. Casting
Casting Kirby
It's time to cast! I used this plaster alternative. I waited a full 45 minutes for the cast to cure and then removed it from the mold.
Letting the cast cure.
The first Kirby cast!
Kirby is so cute! After the first cast, I learned that I needed to mix and pour the cast material more quickly, and tap the mold to get air bubbles out (this lets the material fall further into the mold). I made a total of 6 Kirby casts. I decided to paint 2 of them.
Reflection
Casting is a great method for creating identical parts quickly (if you don’t count the time it takes to make the 3D-printed molds and silicone molds). If I were to do something differently, it would be to sand down my casts so that the surfaces appear more smooth. The edge where the two silicone molds meet is visible on the Kirby casts. Overall, I had a lot of fun with this project and look forward to opportunities to create more molds and casts in the future.
Want to create the Kirby Molds & Castings?
The files for the 3D-printed molds-for-molds can be found on my GitHub! I used Smooth-On's Oomoo 30 to make the silicone molds, and this plaster alternative for casting.
ON THE PLAYGROUND: DISCO BALL STAND | MINI TABLETOP BOWLING GAME | SHOE RACK & SHOE STACKERS | APPLYING UX TO MY LIFE


