Mini Tabletop Bowling Game
I created a mini tabletop bowling game.
The game is packaged in a 3D-printed box that converts into a bowling alley. The game includes 2 sets of bowling pins, 3 bowling balls, and 1 set of bowling blocks, packaged in a storage container that fits inside the box. It fits easily into a backpack so you can take it anywhere.
Game Box Dimensions: 6" x 4" x 2"
Approx. 14 oz.
May 2021 - June 2021
2 Weeks
Solo Project
Designer
Digital Fabrication, 3D Modeling, 3D Printing, Rhinoceros 3D, Grasshopper, Silicone Molds, Casting, Video
Date
Duration
Team
Role
Skills
Take the game with you.
Assembly
Here are all the parts!
How to Assemble the Bowling Alley
Ways to Play
Here are 2 ways that I enjoy playing the game, but you may find more ways to enjoy it!
1. Set up the bowling alley and knock over as many pins as you can.
Watch with the sound on! :D
2. Build arches with the blocks and roll the bowling ball through the arches.
Storing
Putting everything away is fast and easy.
Creating the Bowling Game
The Process
Concept & Plan
I wanted to create a mini tabletop bowling game. It’s a fun project, and it would be a valuable experience if I ever make more mini-sized games in the future.
I used Rhino to model a 3D-printed storage case that converts into a bowling alley and to model the 3D-printed molds for my silicone molds that were used to cast the bowling ball and pins. I utilized Grasshopper to help model and adjust the size of the bowling ball and pins, as well as make a 3D printed organizer for the inside of the storage case to hold the bowling ball and pins so they don't move around when stored or when transporting.
Initial Sketch
Bowling Alley Converts Into Storage Case
Modeling
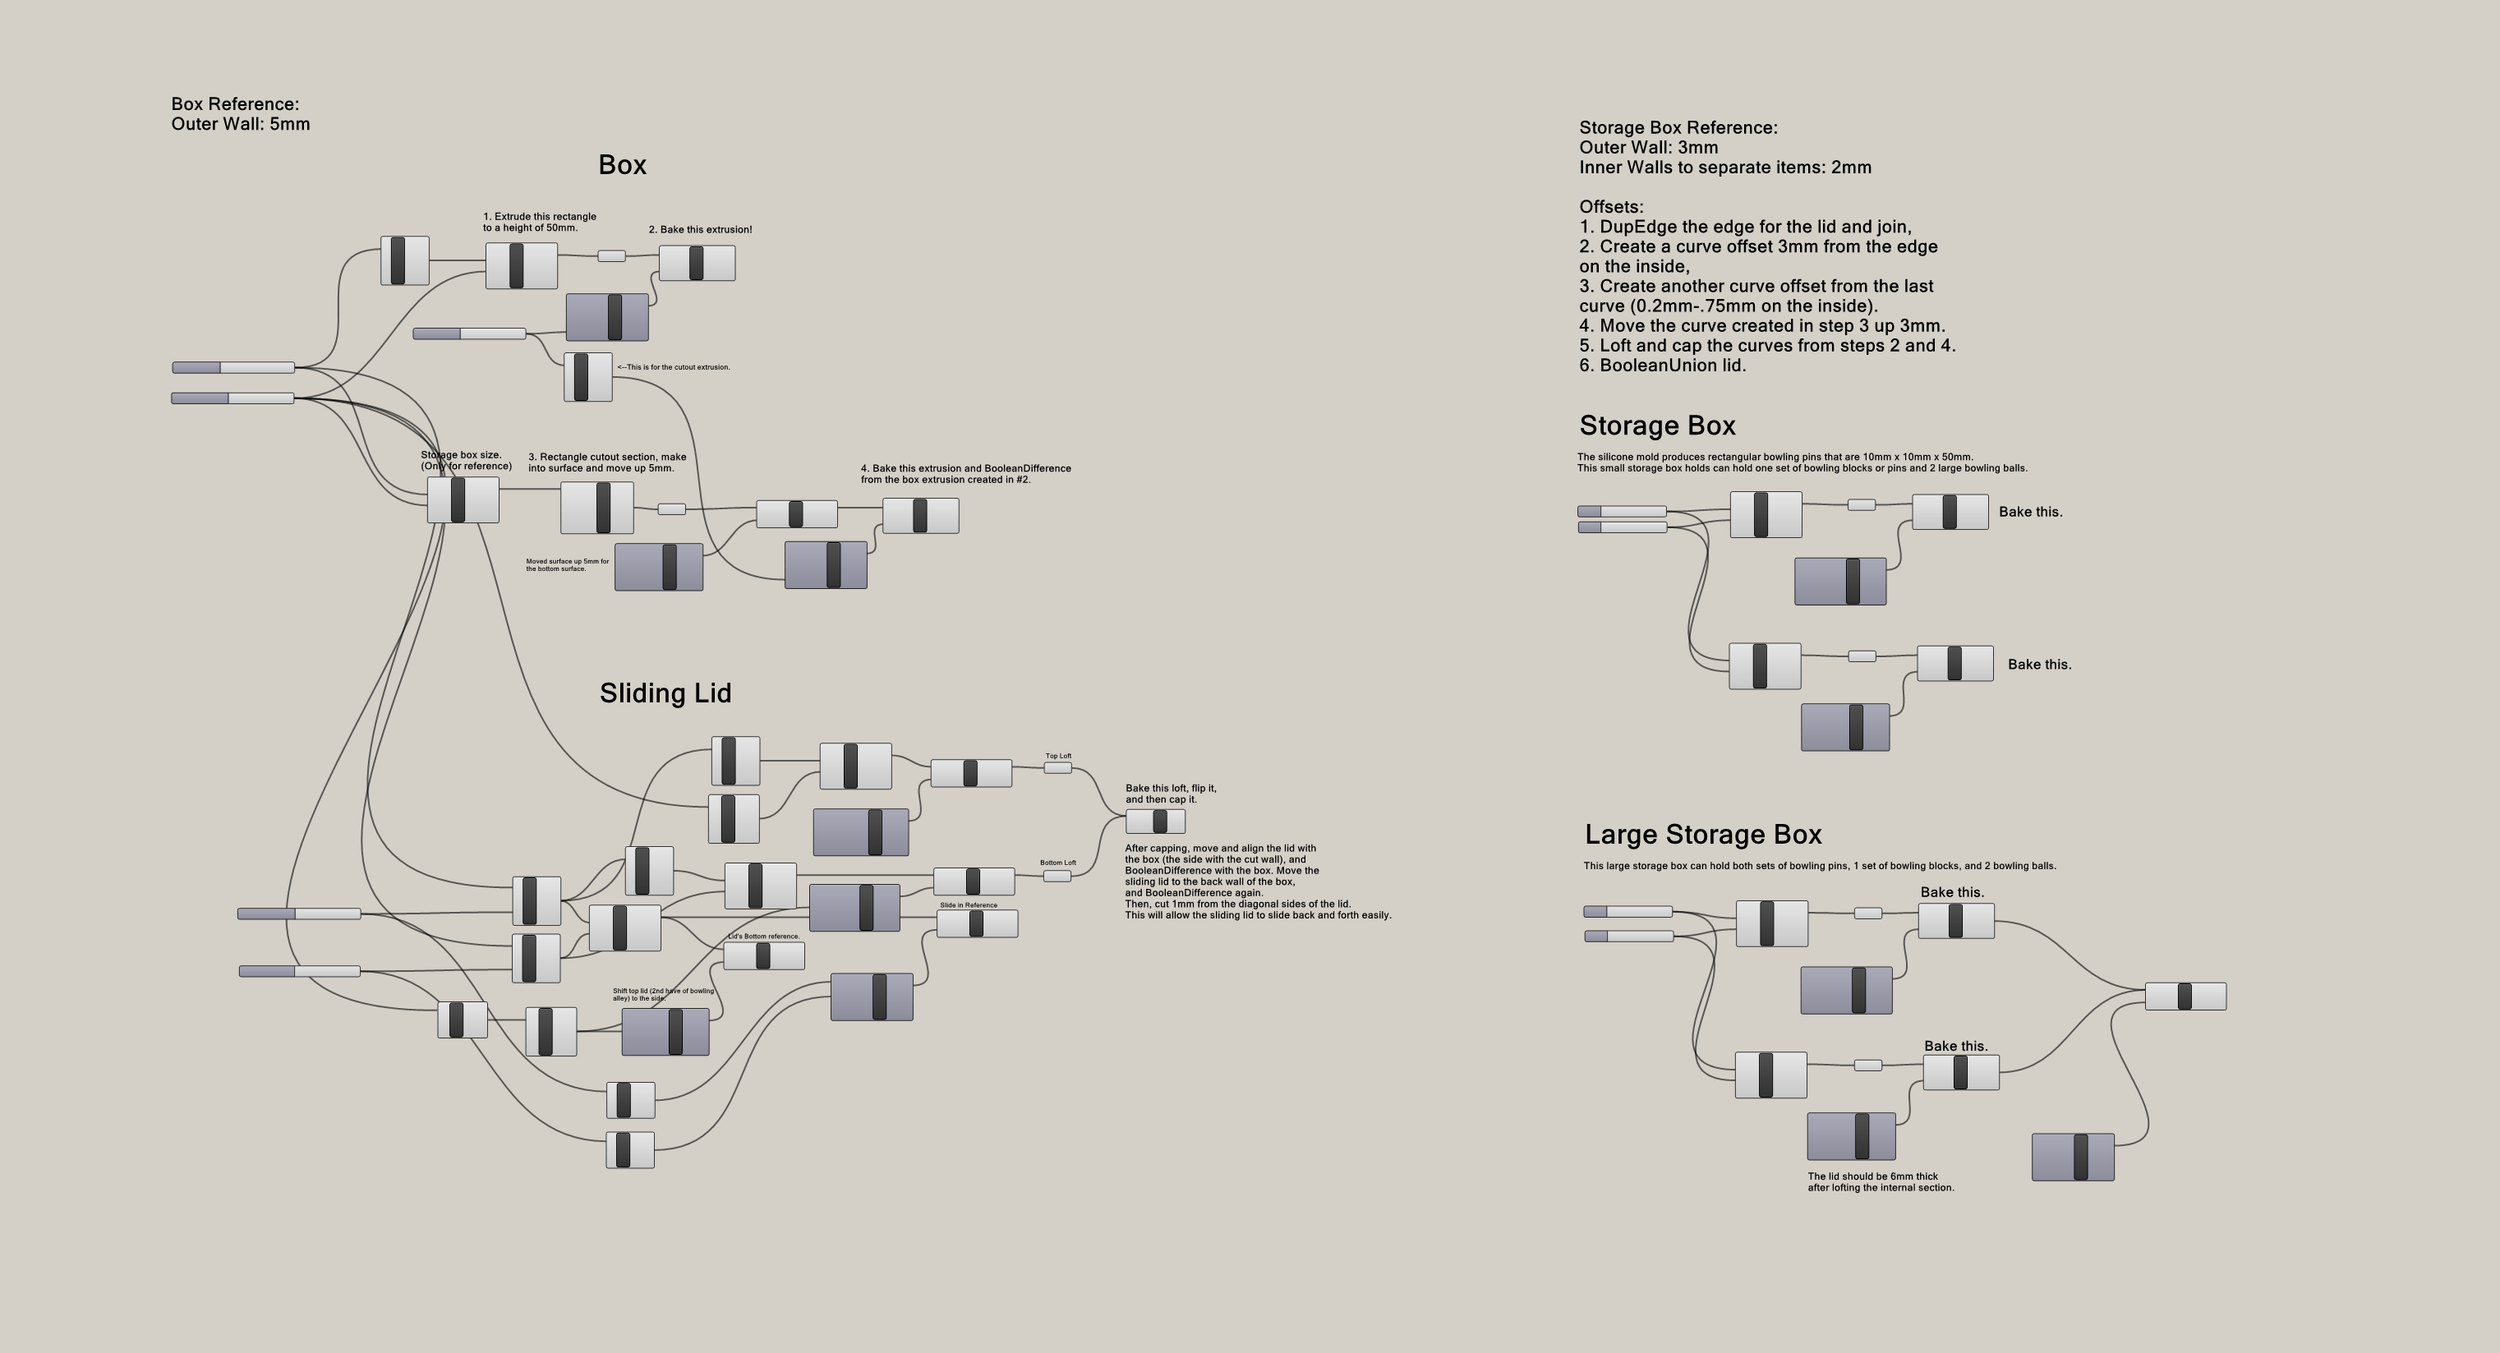
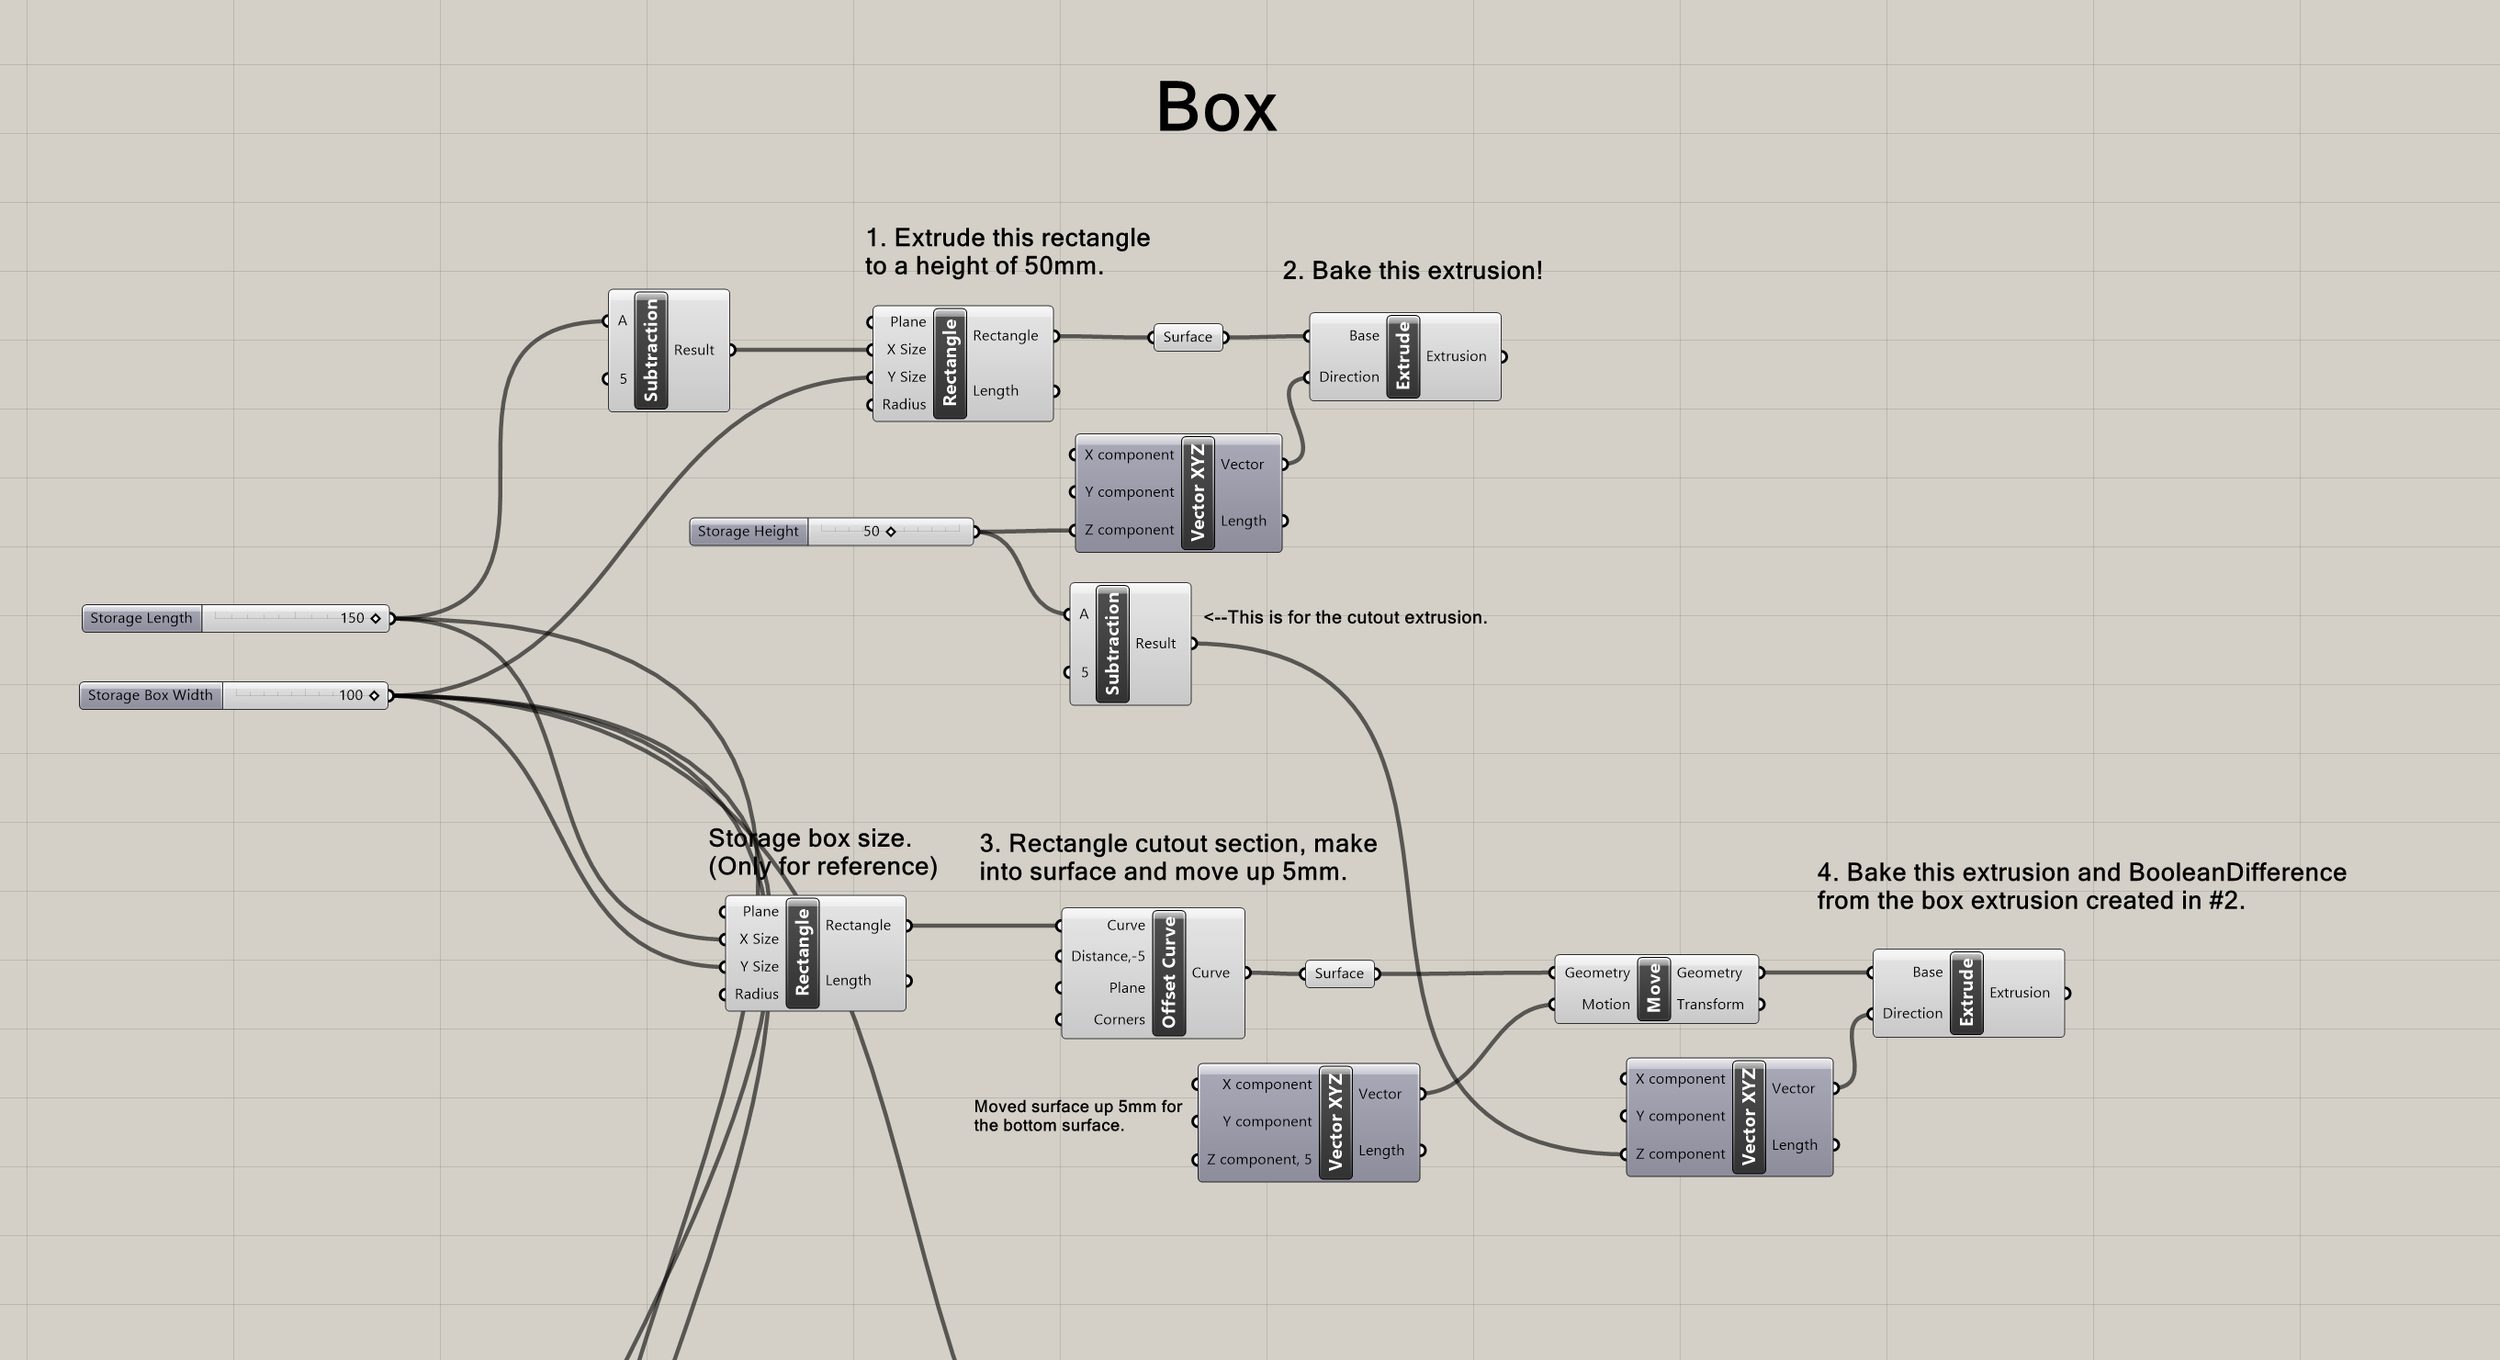
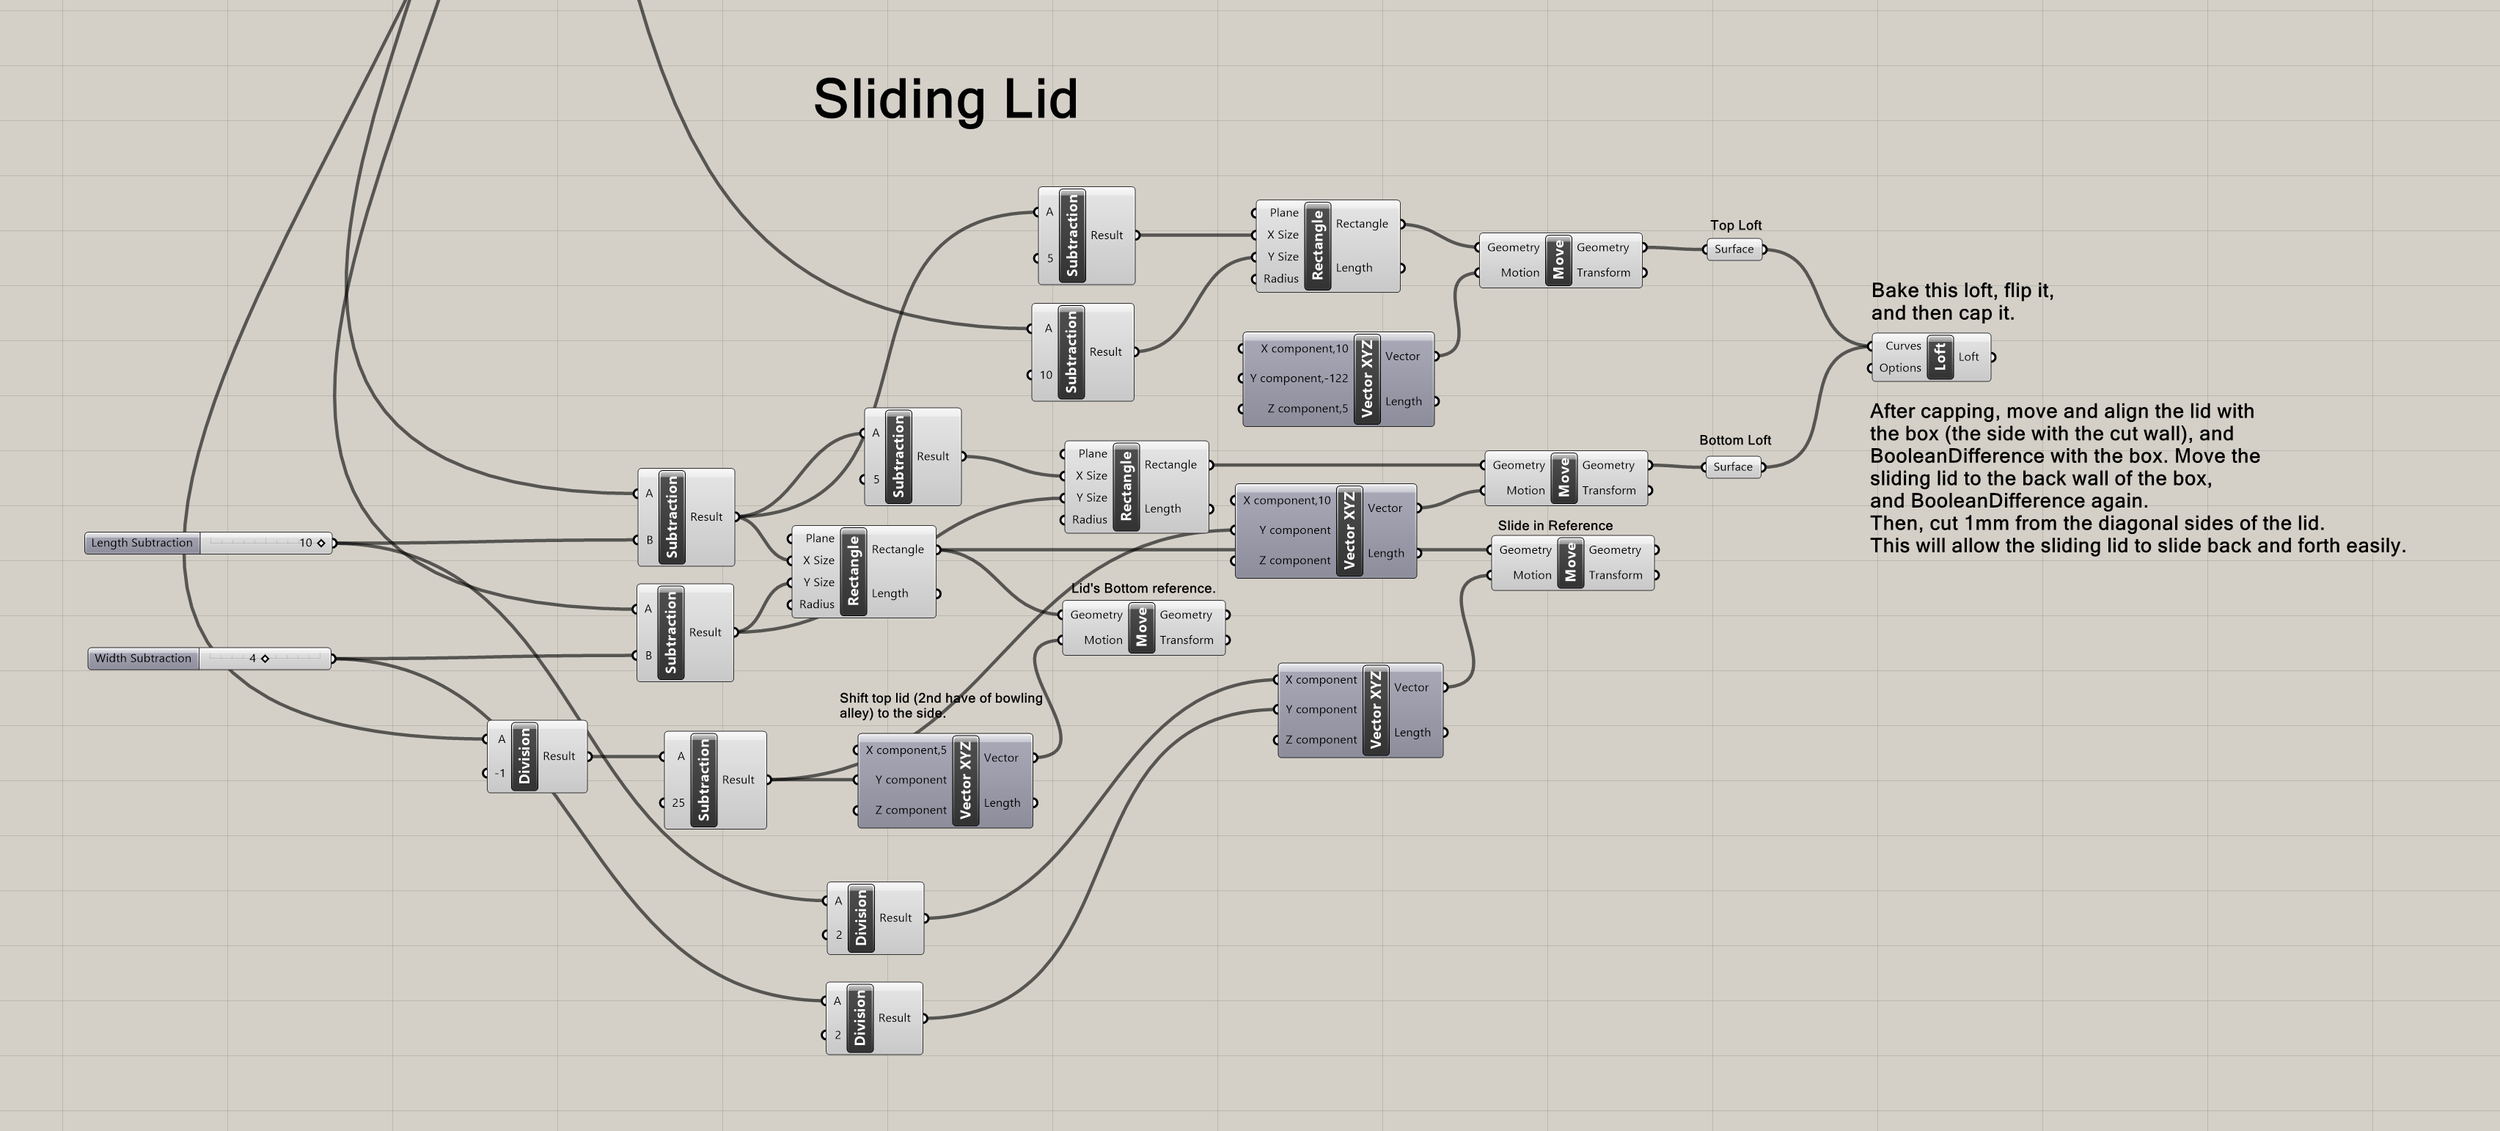
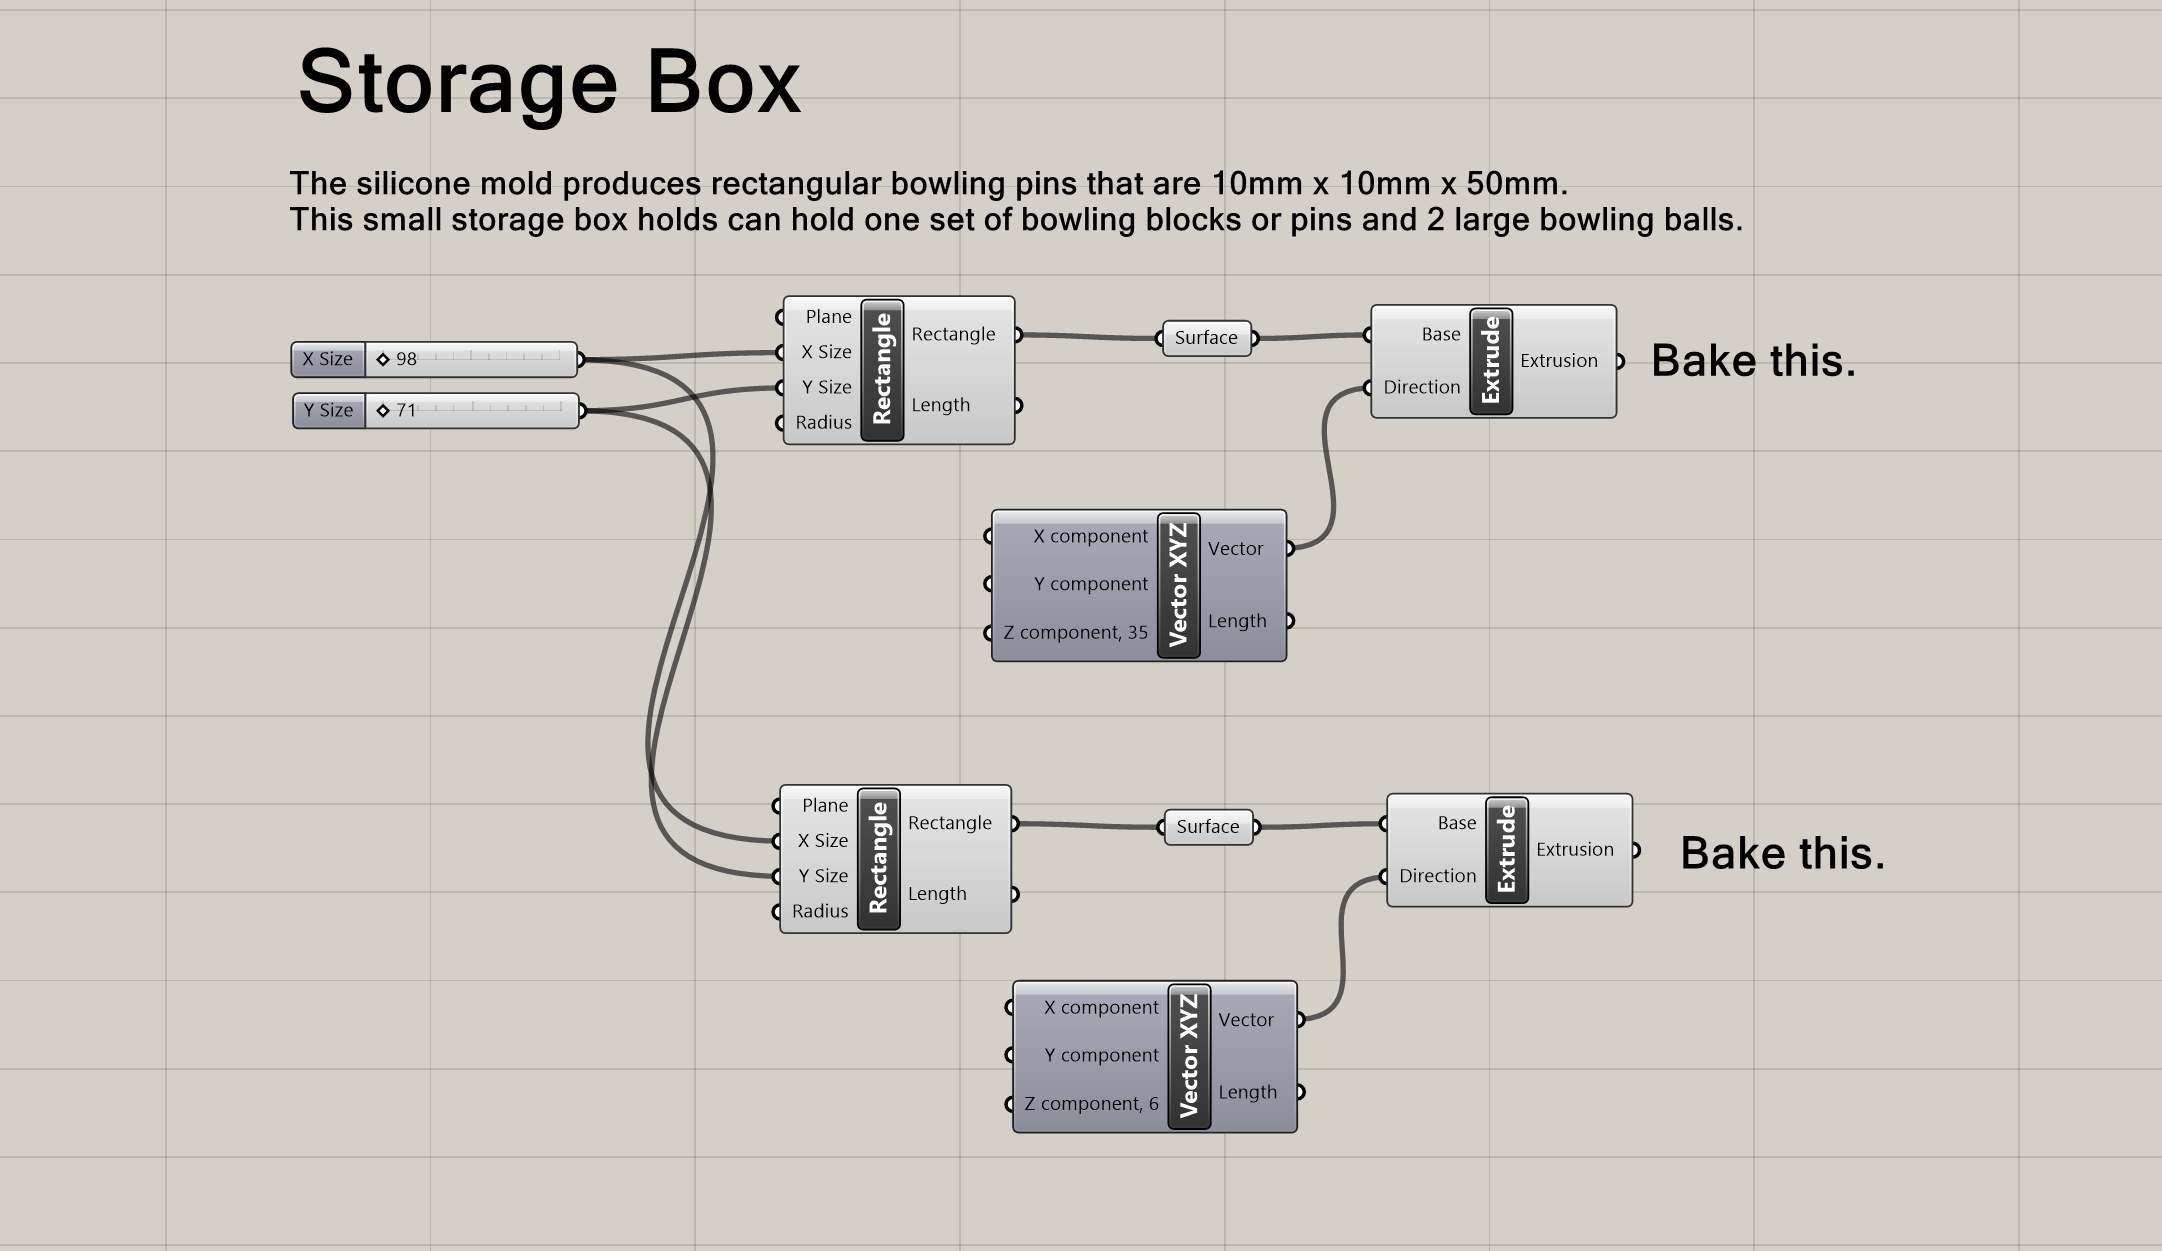
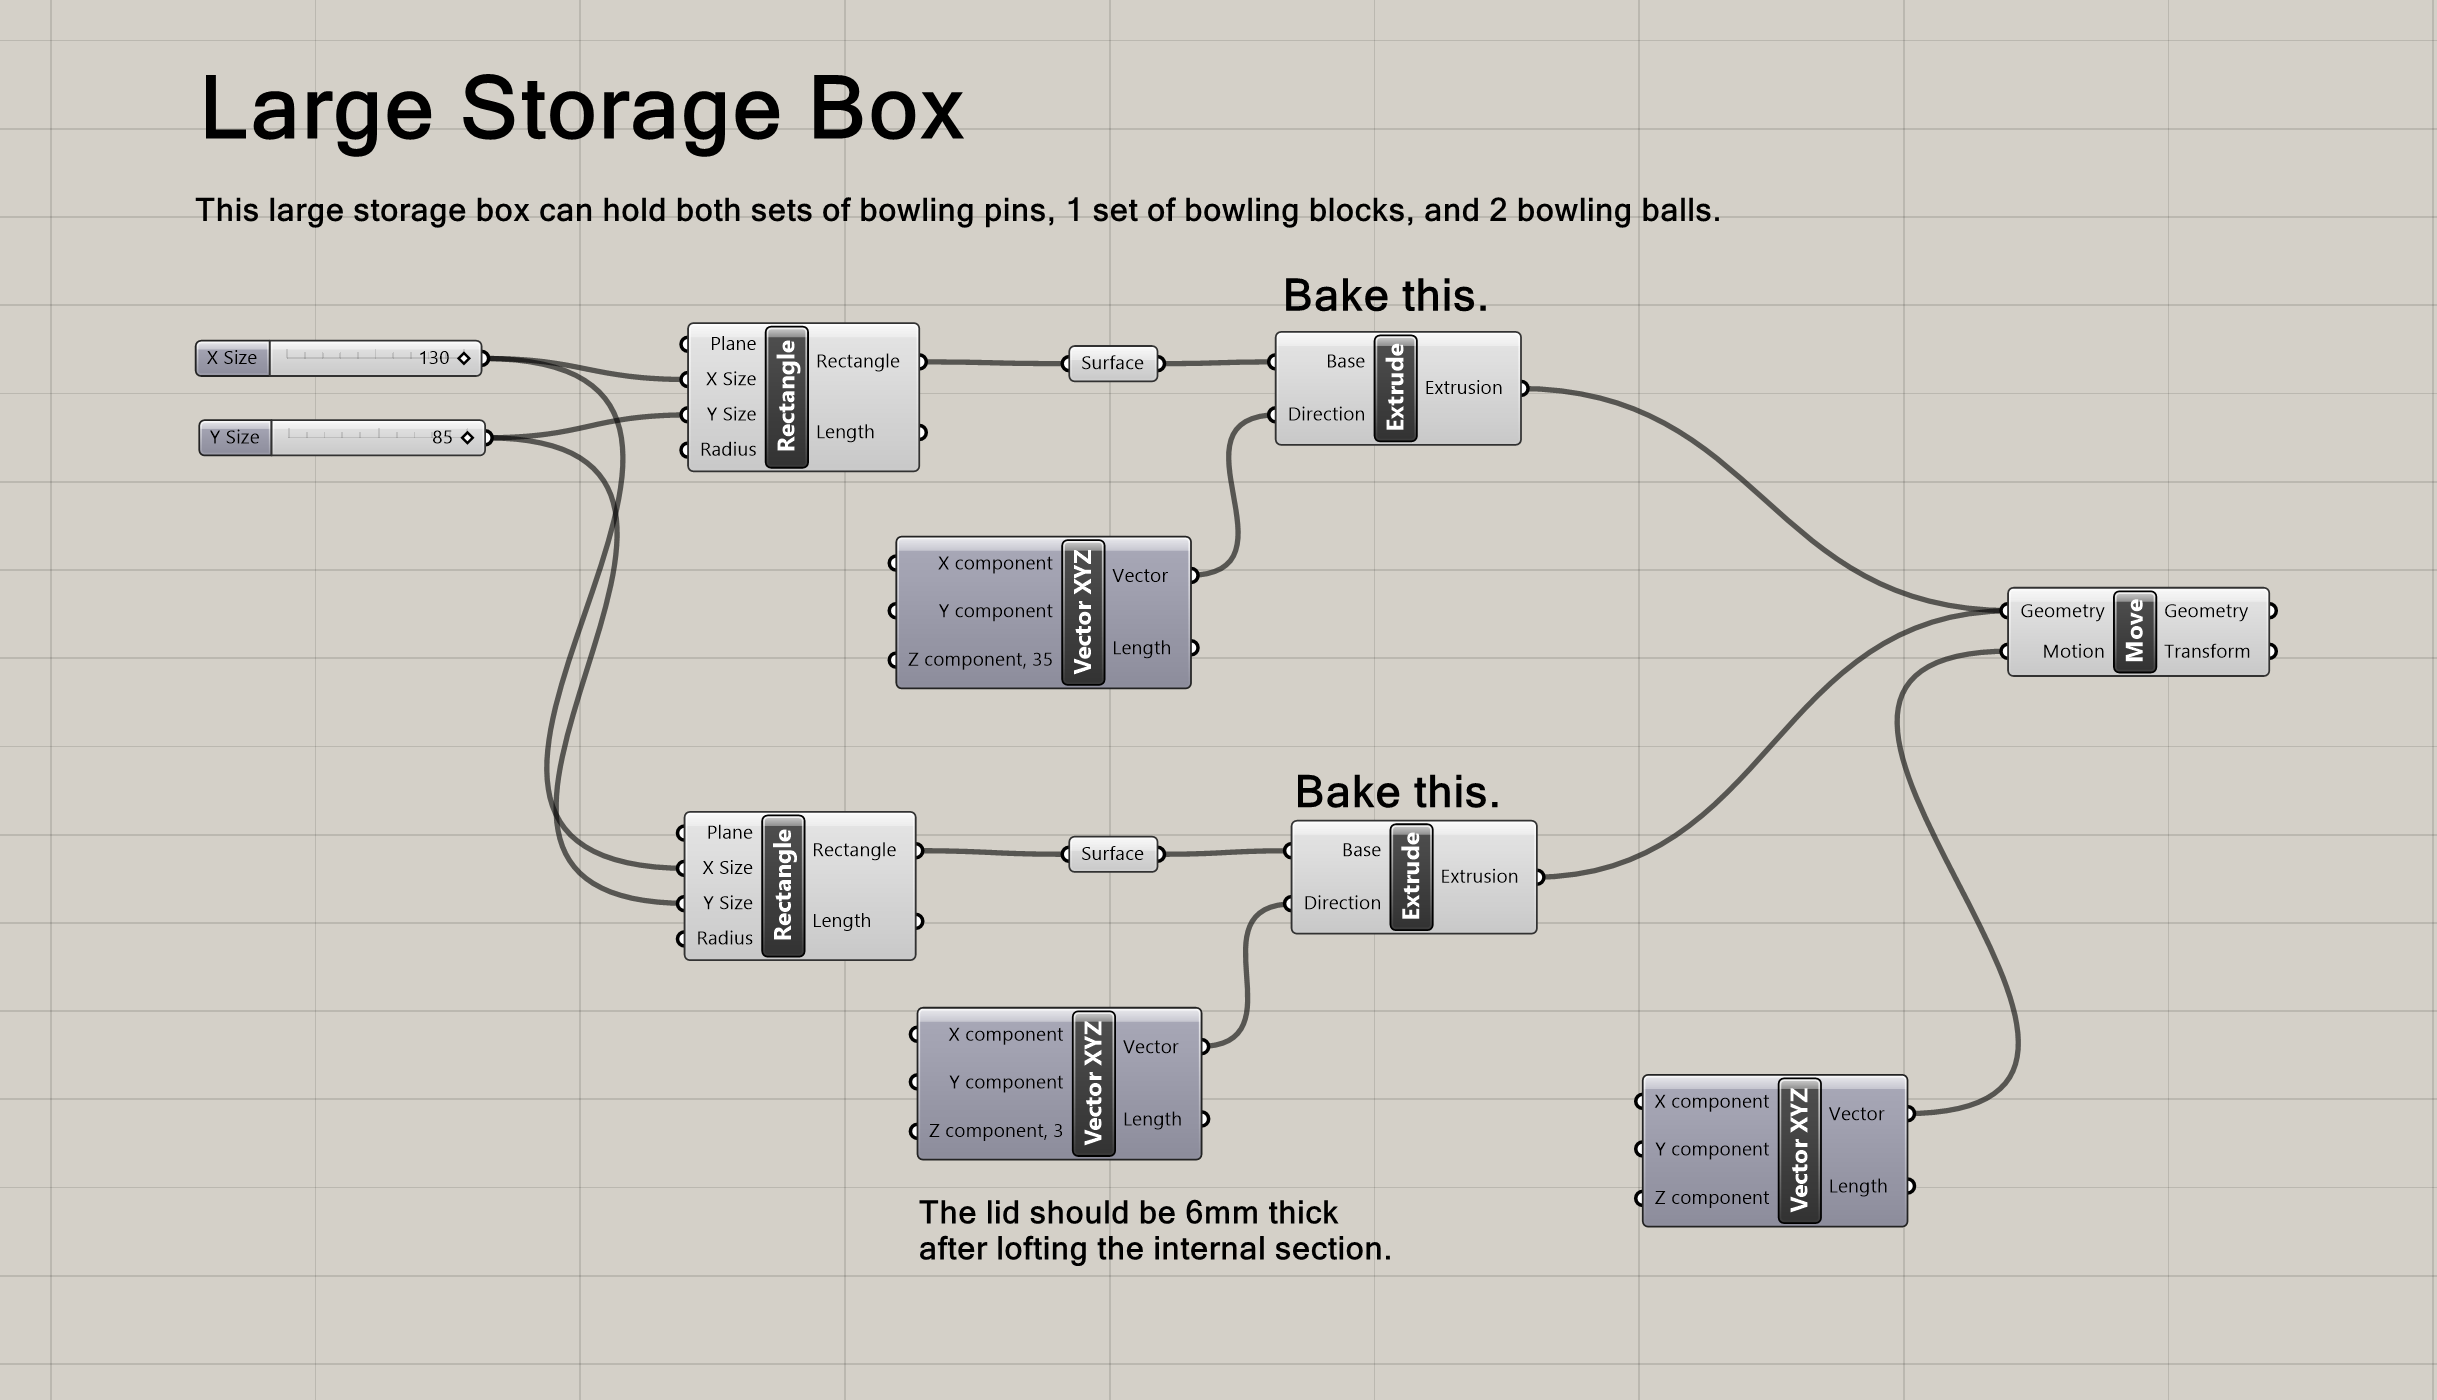
I modeled a total of 11 parts, not including multiple versions and test print models of the same part. I started by modeling the 3-part box that converts into a bowling alley. I used Grasshopper to aid the modeling process. To help future me understand what the Grasshopper definition does, I made notes to remember what the different areas of the definition mean: whether something is solely a reference or if I should bake it.
I used Grasshopper to help model 2/3 of the box components. I modeled the last piece, the clip, in Rhino. After modeling for the box was done, I started printing. I continued modeling by making the molds for my silicone molds. I made three silicone molds in total: 15mm diameter sphere, 25 mm diameter sphere, and bowling pins. The last thing I needed to model was a storage case for the bowling pins and balls. I used Grasshopper to help model part of it, and after baking, did the rest in Rhino. I later ended up modeling a larger version of the storage box and more bowling pins.
Here are all the models (including the additional models from second week improvements)!
All 3D Models
Printing
I printed with white PLA filament. I did a total of 19 prints, including test prints. I started off by printing the box (9h13m @ low quality). I then did a test print (41m @ low quality) of the sliding lid to test the fit with the box. I only printed the portion of the sliding lid that I needed, as seen below. This piece would allow me to check how well the lid snaps with and slides into the box.
Sliding Lid Test Part
The printed test piece slid and snapped well. I continued printing the full sliding lid (3h26m @ low quality).
Afterward, I printed the clip/closing piece for the box. I didn't do any test prints for this piece and printed the full part (1h34m @ low quality). This part fit poorly with the other 2 box parts, because it was too loose. I went back into Rhino to adjust the size of the notches to fit better, and then printed the piece again (1h35m @ low quality). This piece ended up being too tight. I took a box cutter and shaved the sides of the print that weren't fitting, until the piece could snap into the other 2 box pieces. That wasn't ideal, but it worked.
I moved on to printing the molds-for-molds. I printed the molds for the larger sphere (6h43m @ dynamic quality), the molds for the small sphere (2h @ dynamic quality), and the mold for the bowling blocks (4h27m @ low quality).
Finally, I printed the storage box and lid (7h1m @ low quality) for the bowling balls and initial pins. I wanted the lid to fit more snugly so I adjusted the Rhino model and printed again (2h14m @ low quality).
Here are the final prints!
Molds
I made silicone molds to cast bowling pins and bowling balls. The silicone molds were created with Smooth On Oomoo 30. After pouring the silicone in the molds, I let it cure for 7 hours before removing them.
Silicone Mold Making Process
Finished Silicone Molds
Casting
Afterwards, I began casting the bowling balls and pins. When I was modeling, I wanted to make sure that the pouring hole was large enough, but later on realized that I could have made it smaller. I used a box cutter to shave off the excess cast material to achieve the spherical shape for the bowling balls.
Finishes
After casting, I painted the bowling pins and balls.
Testing
I then tested the bowling experience, but it wasn't as satisfying as I had hoped. The casted bowling pins didn't disperse well and would lean against each other when knocked over.
disappointment :(
When I was modeling the pins, I had 3D printed them to gauge different bowling pin sizes on the alley. The 3D-printed pins dispersed much better and made a satisfying sound. I had one more week to work on the project, so I decided that week 2 would be for improvements.
Improvements
During the second week of this project, I:
1. Remodeled and printed the box’s clip.
Remember when the clip was too tight and I used a box cutter to shave the print until it fit? I went back into Rhino, remodeled the clip, printed it (1h35 @ low quality), and now it fits.
2. Remodeled and printed the smaller storage container’s lid.
Before deciding on modeling a new, larger storage container, I worked on improving the previous storage container's lid so it had a better fit. It took 3 tries (modeling + printing) to get a fit I was happy with.
3. Modeled and printed 2 sets of bowling pins.
When I realized that 3D-printing the bowling pins would be better, I decided to go for a traditional bowling pin shape. I modeled the pins in Rhino, did some test prints, and couldn't decide on which size pin I wanted to use, so I printed 2 sets of bowling pins (3h58 @ low quality). Now that I had new pins, I decided to rename my initial bowling pins (the rectangular blocks) as bowling blocks.
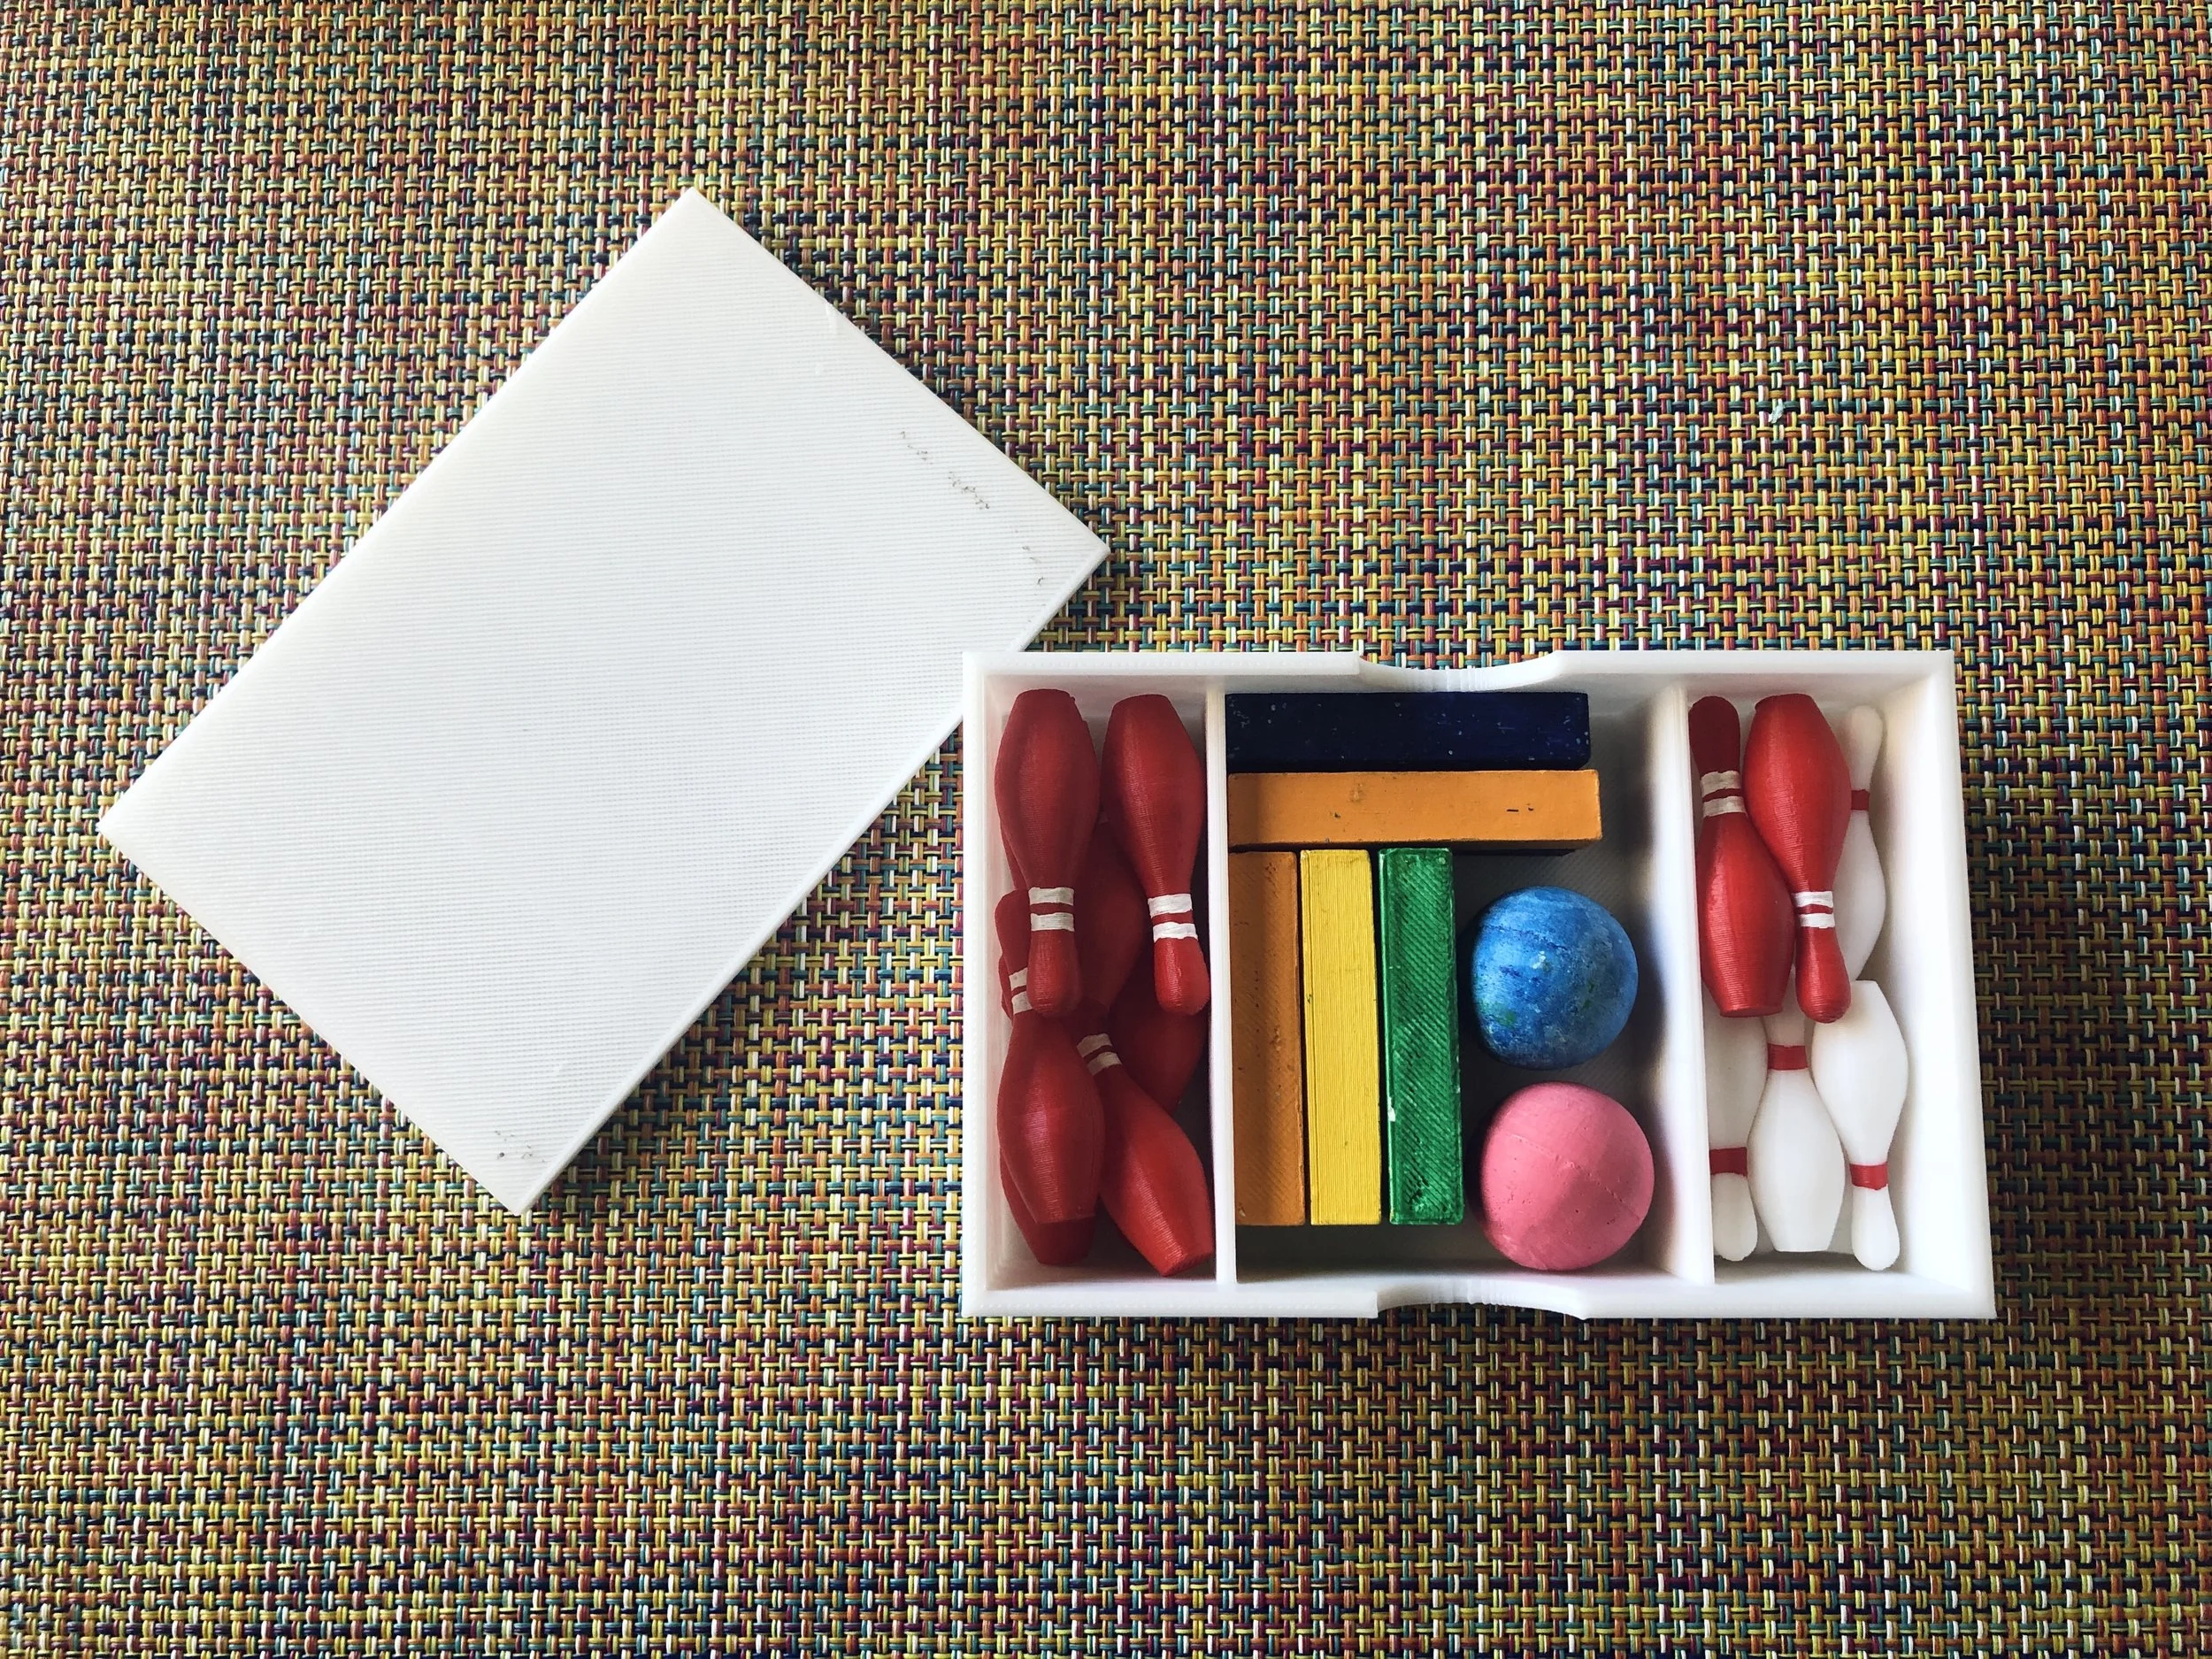
4. Modeled and printed a larger storage container to hold all parts.
I didn't need to model and print a new storage container since I could have just used the old one. However, the smaller storage container could only hold 1 set of bowling pins/blocks, and I liked the bowling blocks so much that I wanted a storage container that fit all the parts I made (10h32 @ low quality).
Reflection
Once the improvements were done, this project was complete. My experience during this process reaffirmed my understanding that the first prototype is not going to be perfect (for ex. things may not always fit, and you’ll have to go back into the modeling process and reprint). I love the journey of creating and improving upon my past designs so I’m glad that I worked faster on this project than I had initially planned and had a lot of time to make improvements. If I had even more time to work, I would have made a mini bowling instructions pamphlet and decorated the outside of the box.
Want to create the Mini Tabletop Bowling Game?
All files can be found on my GitHub!
ON THE PLAYGROUND: DISCO BALL STAND | SHOE RACK & SHOE STACKERS | KIRBY | APPLYING UX TO MY LIFE

